Organise your work with Labels
Organise and search your projects easily by adding labels to Biomodules, Constructs and more.
Contents
Introduction to Labels
Labels are our method for organising disparate items of work into neat categories. Labelling items such as biomodules or shipping addresses allows you to use that label to quickly search and filter your work according to associations you set.
There is no correct way to use a label, you can use them to associate constructs to a project, or a billing addresses to a team. The flexibility of organising and searching your work this way allows you to use them however you need.
You can associate a wide variety of items in Breeze with a label, so as to keep track of work easily. Here's a list of the items you can associate with a label:
-
-
- Biomodules
- Constructs
- Strains and Cells
- Composers
- Bulk Edits
- Shipping Addresses
- Billing Addresses
- Quotes
- Orders
-
Remember, you can only associate labels to items in Breeze from your private collections. Public biomodules and constructs for example cannot be given a label, if you want to label a public biomodule, you'll have to duplicate it first.
Assigning Labels to Items
Assign Labels through an Item
You can add labels to multiple items through the respective item collection page, whether they are biomodules, constructs or documents.
Simply click on the checkbox on each item card to select that item and select the Labels button  in the tool bar above the collection.
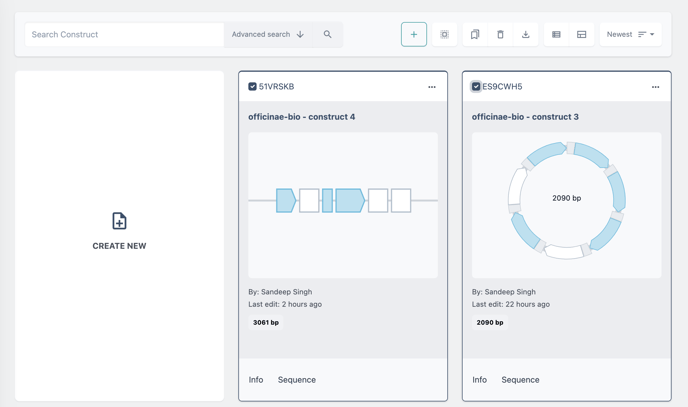
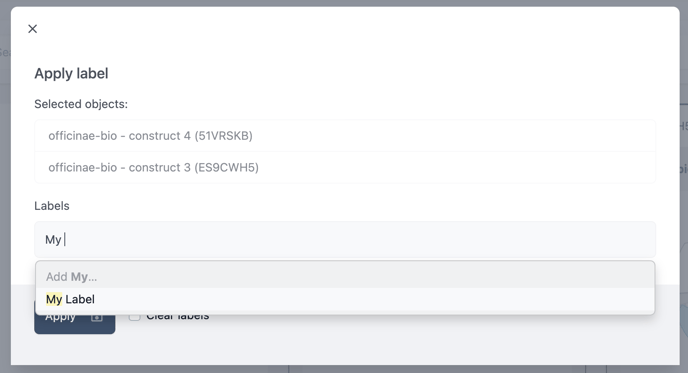
Next simply type the label you would like to add then select apply.
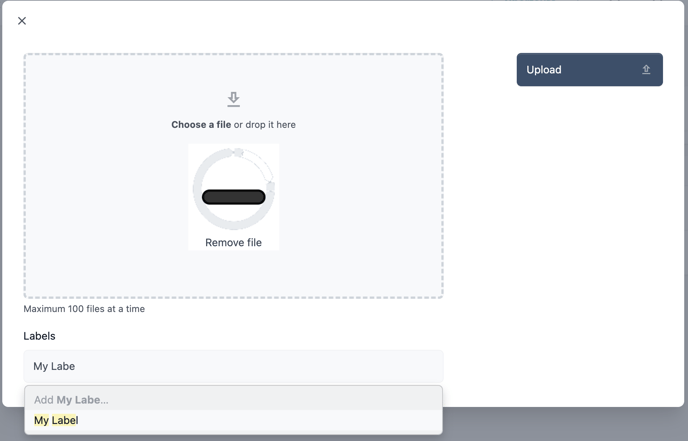
Add labels when uploading items
You can also assign labels when creating new items via an upload. The image below illustrates the upload modal when adding resources, but the process is the same for any new item you can create. Simply assign a label to the label to the new uploaded item.
Assign multiple Labels to an item
It important to note that you can apply multiple labels to a single item. For example, you may wish to create labels for different projects and different teams and assign items to them differentially.
Creating Labels
Creating Labels via the Labels Tab
Your central location for creating labels is the corresponding Labels tab.
Navigate to the Labels tab

Choose to create a new label
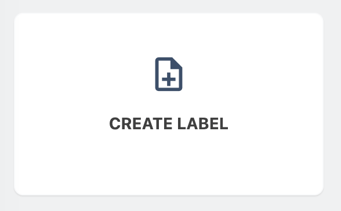
Give your new label a name and assign it a colour.
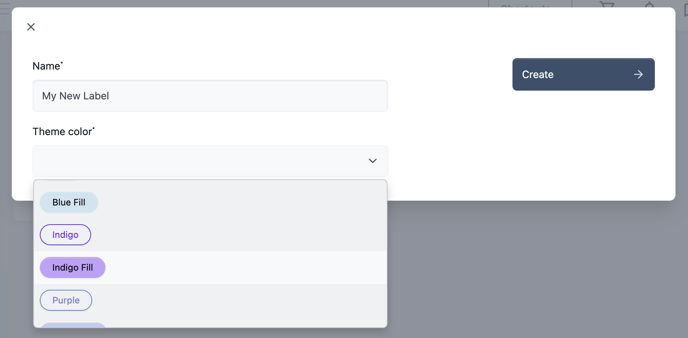
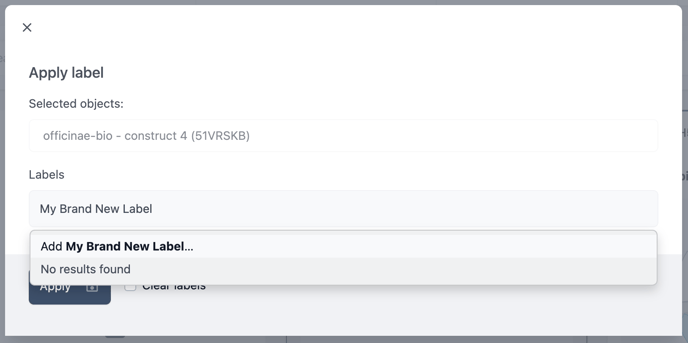
New label from Item
You can add a new label when assigning labels to an item. Simply write a new label name and choose to add the new label.
Navigating Labels
Via the Labels Tab
Once you have added labels to items, you can quickly navigate between the items within a label via the Labels tab.
Navigate to the Labels tab.

You will now see the collection of labels you have created. Within each item category, you will see the number of items that have been associated to that label.
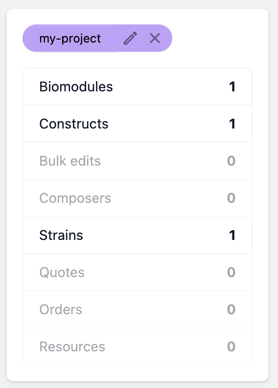
Click on any of the item categories to go to a filtered view of those items.
Via the advanced search feature
You can also search labels quickly via the advanced search feature. To do so navigate to the relevant item category (biomodules, constructs etc) via the left sidebar.
Choose the advanced filter options.

Find the Tags field from the filter options.

Search and choose the relevant label.

Then apply filters

As a tip, you can concatenate your label searches. That is, you can search for multiple labels in a single search query.
Share Labels with your team
You can share labels with your team so you and your teams can organise all your work together.
To begin, navigate to your labels tab.

From the labels tab, you will be able to see a collection of all your existing labels. Click the more options button on the label you wish to share and then choose share.
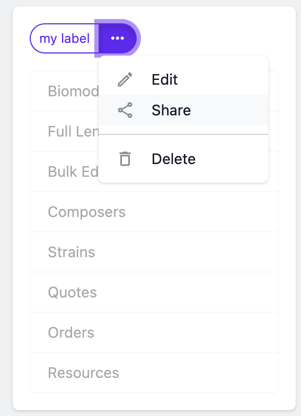
When sharing labels, you share the only access to the label and not the items, such as biomodules, associated with that label.