How to create and edit your shipping address
Once familiar with Officinae Bio's design tools, take a moment to set your account information. This tutorial covers how to create and edit your shipping addresses.
Access your profile
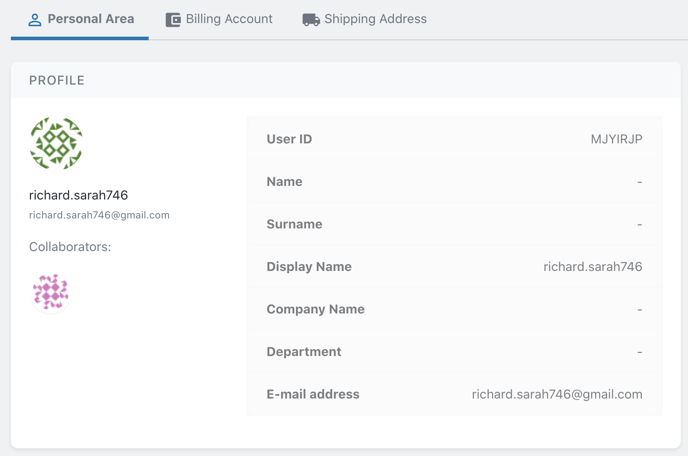
When you create your account, the software automatically generates a Profile Card gathering all your personal information.

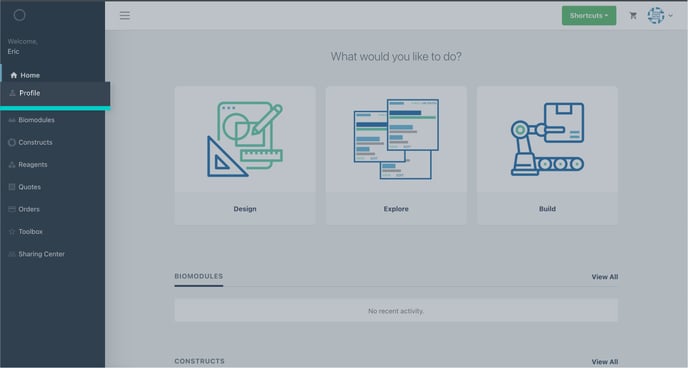
To access your profile area, click first on your Identicon, then on your Profile name.
![]()
Alternatively, you can access your Profile Card by clicking on the Hamburger button on the top left of your screen. Then look for the profile section on the left-hand menu.

At the top of your profile card, there are 3 tabs: Personal Area, Billing Account and Shipping Address.

- Personal Area tab: here you find all your personal info. Please, refer to How to manage your Personal Area tutorial for more information.
- Billing account tab: Associate your quotes and orders with your billing accounts or cost centre. Create as many billing accounts as you need and share them with your collaborators. Please, refer to the Create and Edit Billing accounts tutorial for more information.
- Shipping address tab: Set where you want to receive your orders. As for Billing accounts, you can have more than one shipping address associated with your Doulix account and you can share your shipping addresses with your teammates.
Create a new shipping address
Select the Shipping Address tab on your Profile Card and click on “CREATE NEW”

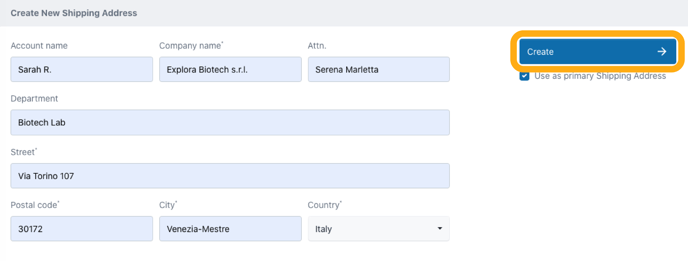
Complete the form and click on the Create button. Mandatory fields are indicated with an asterisk (*). Tick the box under the Create button to use this address as your Primary shipping address.

Edit a shipping address
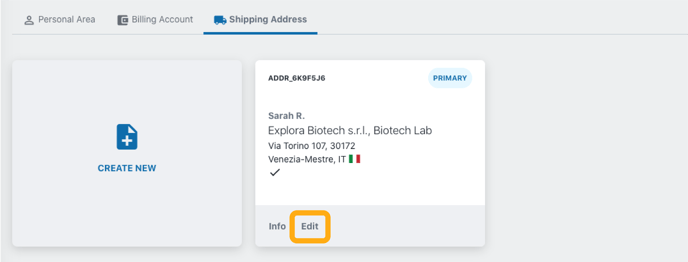
To edit a shipping address, click on Edit at the bottom left side of its corresponding card.

Once you have updated your shipping address, click on the Save button.
