You create Constructs using templates that you fill with biomodules. Once you’ve created your construct you can duplicate it and make variants by quickly swapping one biomodule with another.
Step 1: Create a construct
Step 2: Edit template
Step 3: Add biomodules
Step 4: Invert placeholders
Before you begin:
In order to create your Modular Construct you first need to have your biomodules ready to fill it.
You can use public biomodules or you can create your own. If you haven’t created your own biomodules yet, check out our User Guide on that before you begin.
Step 1: Create a new construct
Navigate to your Constructs collection.

Choose Create New.
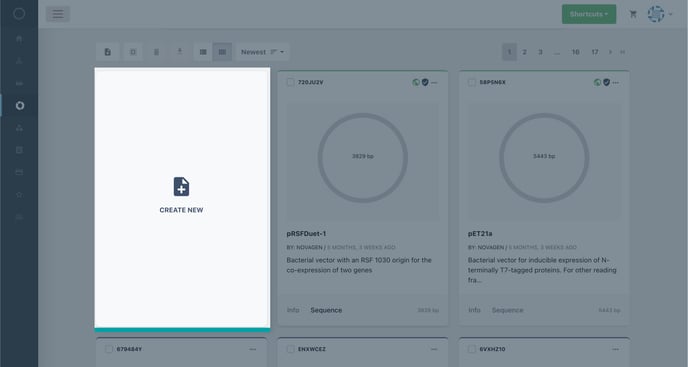
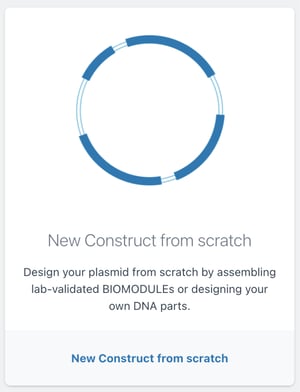
Choose to create a New Construct from Scratch
Give your construct a name and choose a starting template you would like to begin with. You can always edit or change this later.
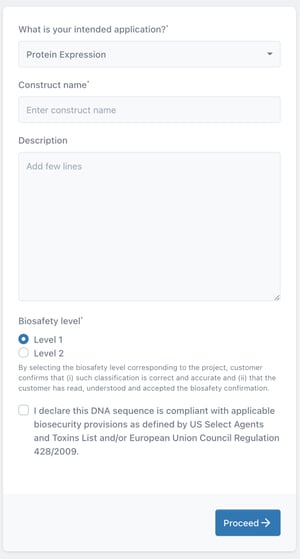
Key to the starting templates
You can start with one of four initial templates that you can customise for your job. These are:
Other/Unspecified: This is the standard construct template of one placeholder, intended for customisation.
Simple Cloning Vector: A simple cloning template with two placeholders intended for a backbone and an insert.
MoClo Cloning Vector: A simple cloning template with two additional placeholders intended to hold restriction enzyme sites (hinges)
Protein Expression: A more complex template containing eight placeholders for protein expression functionality and eight hinge sites.
Step 2: Edit your template to finalise your plasmid topology
If you are happy with the starting template you created in step 1, you can skip to the next step.
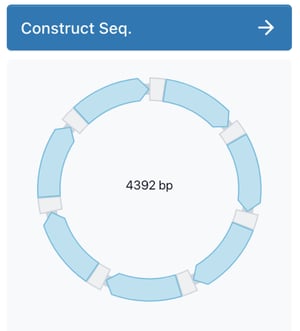
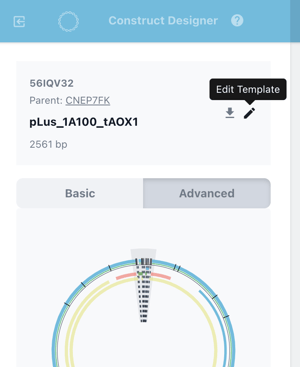
Move to Construct Designer by clicking Construct Sequence button or a biomodule in the plasmid map.
In the top left hand corner of the construct designer, choose the edit template icon.
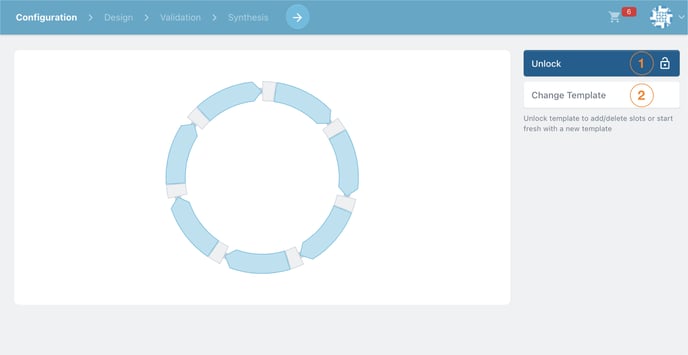
To customise your existing template, choose Unlock (1).To replace your existing template, choose Change template (2).
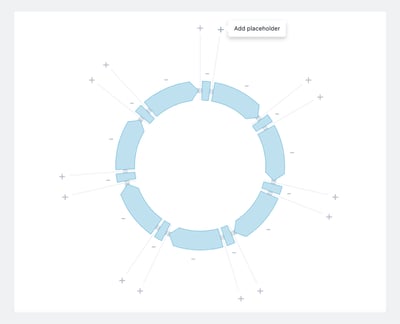
If customising a template:
Click on the '+' icons to add a new placeholder and the '-' icons to remove them
Once you are satisfied with your template, choose lock.
If changing a template:
Scroll through the collection of ready-made templates.
Click choose to swap your existing template for a new one.

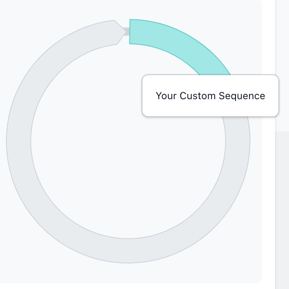
A note on placeholders
Templates are made up of placeholders that are colour coded according to the level of customisation available in each template. They are as follows:
White placeholder: Empty and fully customisable.
Blue placeholder: Pre-filled and optional
Grey Placeholder: Pre-filled and mandatory
Step 3: Add Biomodules to Your Construct
Now you’ve created the template of your construct you can start adding Biomodules to complete your design.
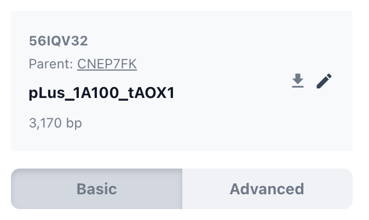
Navigate to the basic view of the construct designer.
Now on the plasmid map in the left side bar click the placeholder you would like to fill. The placeholder will turn green when selected.
Now you can see your collection of Biomodules on the right side of the screen. Use the advanced search feature to search and filter your biomodules.
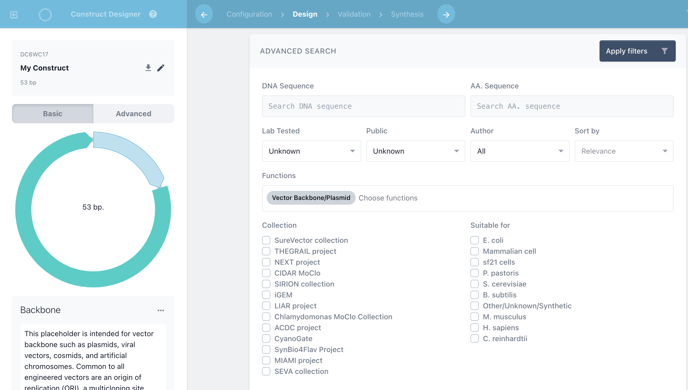
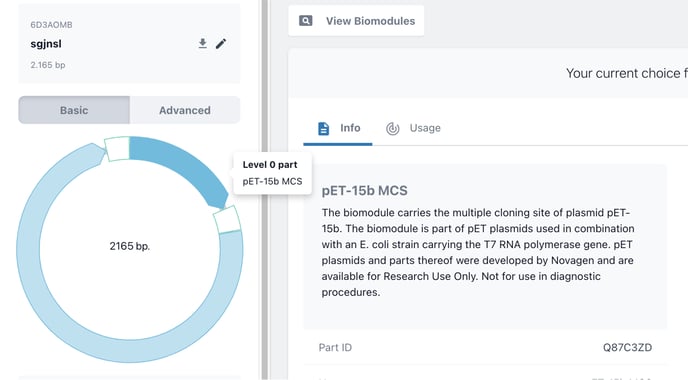
Click Choose to add the respective Biomodule to the selected placeholder.
Rinse and Repeat for each placeholder in your template.
To remove and replace a Biomodule, click on the placeholder in the plasmid map on the left side bar. Then click the Remove button on the right of the screen. Now add your new biomodule as before.
You can always choose to leave a placeholder empty. The empty placeholder will not be visible in the advanced view and the sequence will continue uninterrupted.
Step 4: Invert placeholder and reverse biomodule orientation
Now that you have added biomodules to your construct you can reverse the orientation of individual placeholders and their biomodules to change the read direction for those elements.
In the basic view of Construct Designer click on the placeholder that you would like to invert
Then move to advanced view for the detailed sequence editor. You will automatically navigate to the start of the placeholder you just clicked.
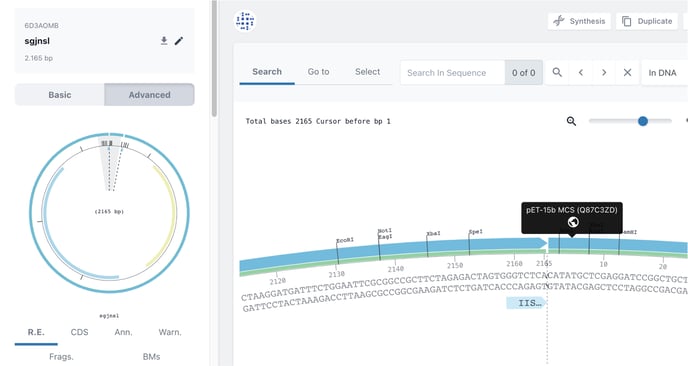
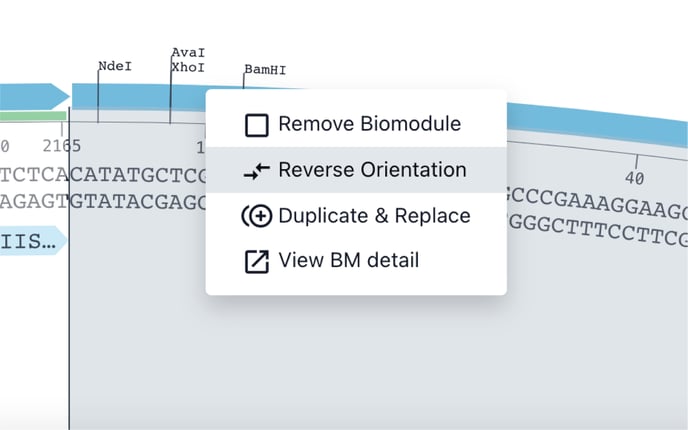
Right click on the blue bar above the sequence for the corresponding Biomodule. Choose reverse orientation in the pop up menu.
You’ve now inverted your placeholder and the orientation of the biomodule it contains. You can see the new orientation in basic view of the construct designer.
A note on inverting placeholders and biomodules
If you want to invert the orientation of a biomodule in a construct make sure that you created the original biomodule in the forward orientation. Inverting a biomodule that is already oriented in reverse, will cause it to point in the forward direction.
... And on editing public biomodules
If you are working with public biomodules and choose to reverse the orientation, you will have to duplicate the biomodule before doing so. This is so biomodules retain their functionality for the community.